Physical Address
304 North Cardinal St.
Dorchester Center, MA 02124
Upon venturing into the world of microbiology, I discovered a technique that has been instrumental in viewing the structure and morphology of specimens under a microscope. This enchanting process is none other than negative staining!
It’s an ingenious method that repaints the way we look at microbial wonders by using substances like eosin and India ink to embellish details otherwise unseen. I’m thrilled to introduce you to negative staining- its principles, reagents used, procedure followed, and what results one can expect from it.
As one plunges into this field headfirst—everything from the unassuming principle of contrast to the mesmerizing transformation elucidated by staining—marvels us all. Negative Staining primarily increases contrast, making objects easier to see against their settings.
India Ink or Eosin are typical reagents for this purpose. How amazing is it that something as simple as increased visibility can make a profound impact on our understanding? Isn’t life full of such twists when viewed through a different lens?
Contents
In every microscope lab, a common term you’d likely hear is “negative staining.” It’s crucial to comprehend many microscopic examinations and has significant implications in diagnostic and research works.

But what does it entail? Let’s explore the principle of negative staining in this section.
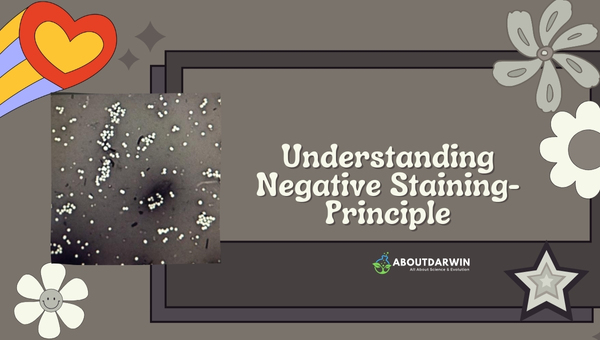
Negative Staining is a method mainly used in microscopy to enhance the contrast of bacteria or other microorganisms that are difficult to stain by standard methods. Unlike positive stains that bind to the specimens, negative stains go around the sample, effectively drowning out all but its silhouette.
The main advantage of this method is that it allows us to observe cells in their natural state without distorting their structure via heat fixation. Besides, it provides opportunities for studying the outer structures, such as capsules or slime layers of different bacteria, that could not be seen with a simple staining technique.
To put things into perspective:
Negative staining relies on utilizing stains with negatively charged chromogens that subtly surround our specimen instead of directly binding with it. Specifically, these dyes hold an acidic pH, causing them to repel from our sample, given that bacterial cell walls are typically negatively charged, too.
As a result, these stains do not penetrate bacterial cells but form a colored background around them, which makes bacteria appear bright against dark-surfaced slides under microscope examination.
On getting down to specifics:
It’s truly fascinating how negative staining unveils cellular secrets previously invisible to the eye. This fundamental principle has revolutionized the way we look (literally!) at microscopic organisms and continues doing so to date.
Also Read: What is My Cousin’s Cousin to Me? Unraveling Family Ties
A negative staining procedure is only as effective as the reagents used. Therefore, it’s critical to understand the role of two standout reagents- eosin and India ink, in ensuring that the specimens we observe under the microscope deliver accurate and detailed results.
Eosin is a fluorescent red dye that plays a vital role in the negative staining method. It’s an acidic dye containing aromatic rings and anions, which helps stain the basic components of a specimen.
Now, you might be thinking, why use something with acidity? Well, here’s why: Most bacterial cells possess negatively charged cell walls after they’ve been prepared for observation.
These cell walls tend to repel acidic dyes like eosin, hence leaving the cells colorless or less stained than their surrounding environment. This makes them more visible against a brightly colored background.
Let me break it down for you:
This ‘just right’ compatibility makes Eosin one of our go-to reagents when performing negative staining.
India ink brings its unique capabilities into play during our journey through microscopic examination using negative staining methods.
Here’s what India ink does:
In conclusion, positive or negative, Eosin and India Ink’s presence continues to underline their significance in the fabulously intricate world of microscopy. While they seem unique in their roles, together, they build blocks of visualization that make identifying and understanding our minuscule subjects possible!
Also Read: Understanding Your Brother’s Wife Role: A Comprehensive Guide
Conducting negative staining requires precision and patience. Its entire process can be classified into distinct steps, each one crucial in achieving the desired outcome. Let’s walk through this interesting journey of microscopic examination.
Here are the sequential steps involved in performing negative staining:
Following these steps carefully will help yield accurate results from the negative staining procedure.
Negative staining is a generally safe procedure if performed with due caution by following standard laboratory practices like wearing appropriate lab gear and handling reagents correctly, among others. Here’s what you should take care of:
Remember, safety comes first!
Also Read: Sanborn Fire Insurance Maps: A Comprehensive Guide
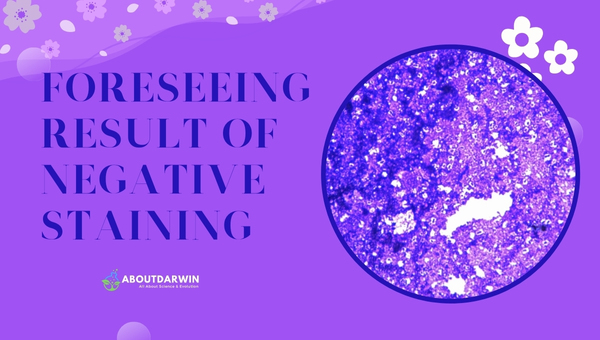
When we have carried out the negative staining procedure with meticulous care, we come to the crucial aspect of interpreting our results.

Trust me, this process can be both daunting and exciting. But I’ve got you covered; let’s soak it all in one step at a time.
The success of your negative staining experiment can greatly impact what you should expect to see under your microscope. Although there is no universal ‘right’ or ‘wrong,’ there are common observations that may assist in confirming whether things went as planned.
The real charm of this procedure lies in observing these intricate details, which would otherwise go unnoticed with direct staining techniques.
While it would be wonderful if all tests went smoothly, bumps along the way are quite honestly part and parcel of life in a lab! Let’s discuss some common issues that can plague your results and how we can work around them:
Remember, each issue has a solution, and with a little bit of troubleshooting, you can get your negative staining procedure right on track.
Also Read: Unlock Your Roots: Explore Free Genealogy Websites Today
Generally, risks involve mishandling of microbes and improper disposal of used slides, but with the right precautions, these risks can be minimized.
Results from Negative Staining are considered highly reliable, especially when analyzing bacterial capsules and spores due to their superior resolution.
You can use alternatives like Nigrosin or Eosin, which also work well in conducting negative stains.
It’s called ‘negative’ as it stains colors the background while leaving the cells or organisms colorless, providing a contrasting negative image.
Ideally, bacterial specimens, fungi, and spore-containing samples can be efficiently analyzed through Negative Staining.
Also Read: Unlock Your Roots: Explore Free Genealogy Websites Today
After delving into the remarkable world of negative staining, one must appreciate its intricate mechanism and indispensable role in microscopy. By understanding the principle behind this practice, identifying essential reagents such as Eosin and India ink, and carefully executing the procedure while mitigating common mistakes,
we can achieve accurate results and arrive at succinct scientific conclusions. Undeniably, like any other procedure, it has its challenges, yet with troubleshooting strategies in place, the path becomes more manageable.
With this nuanced understanding of negative staining, we are more equipped to tackle various microscopic mysteries, effectively aiding us in our relentless pursuit of scientific truth.